How to Start Flexible Seating on a Budget
Starting a flexible seating classroom doesn’t have to break the teacher bank. These are the 5 steps that I look to help me design my flexible seating classroom on a budget:
plan your budget.
plan your classroom.
research the best stores.
start purchasing
decorate your classroom
Come Up With a Budget
I started my flexible seating journey with a $30 dollar budget.
I knew I wouldn’t be able to start with wobble seats or yoga balls. I had to come up with a plan to get as many seating options that I could for my very small budget.
Making the switch to flexible seating doesn't have to be scary or expensive. Start small and add on to your collection, little by little.
You’ll be surprised by what you can turn into flexible seating options.
2. Plan Your Classroom
You may be thinking now, where do I start?
Each summer, I start thinking about what I want to add to my classroom.
I think about the areas in my classroom and the ways that I can use the furniture that I already have.
3. Research the Best Places to Shop
I headed out to the nearest FiveBelow to see what I could find.
I could potentially get 6 seating options with my budget, and that was good enough for me to start with.
Over the years, I have also been successful at finding flexible seating options at Ikea, and Biglots.
I personally haven’t tried, but I know many teachers that have been successful finding inexpensive furniture on the Facebook Marketplace.
4. Start Purchasing
When I got to FiveBelow I found a variety of seating options that my students could use to sit on the floor more comfortably.
I found a yoga mat that I folded and cut into 3 equal pieces. My students used the mats to spread out and work on the floor.
FiveBelow also had 24"x24" connecting foam mats.
My students used the foam squares the same way that they used the yoga mats. They are the perfect visual for students to see personal space.
The last thing that I found on my first flexible seating excursion was stadium seat cushions. Typically, my students used the cushions to prop up against the wall with a clipboard to complete their work.
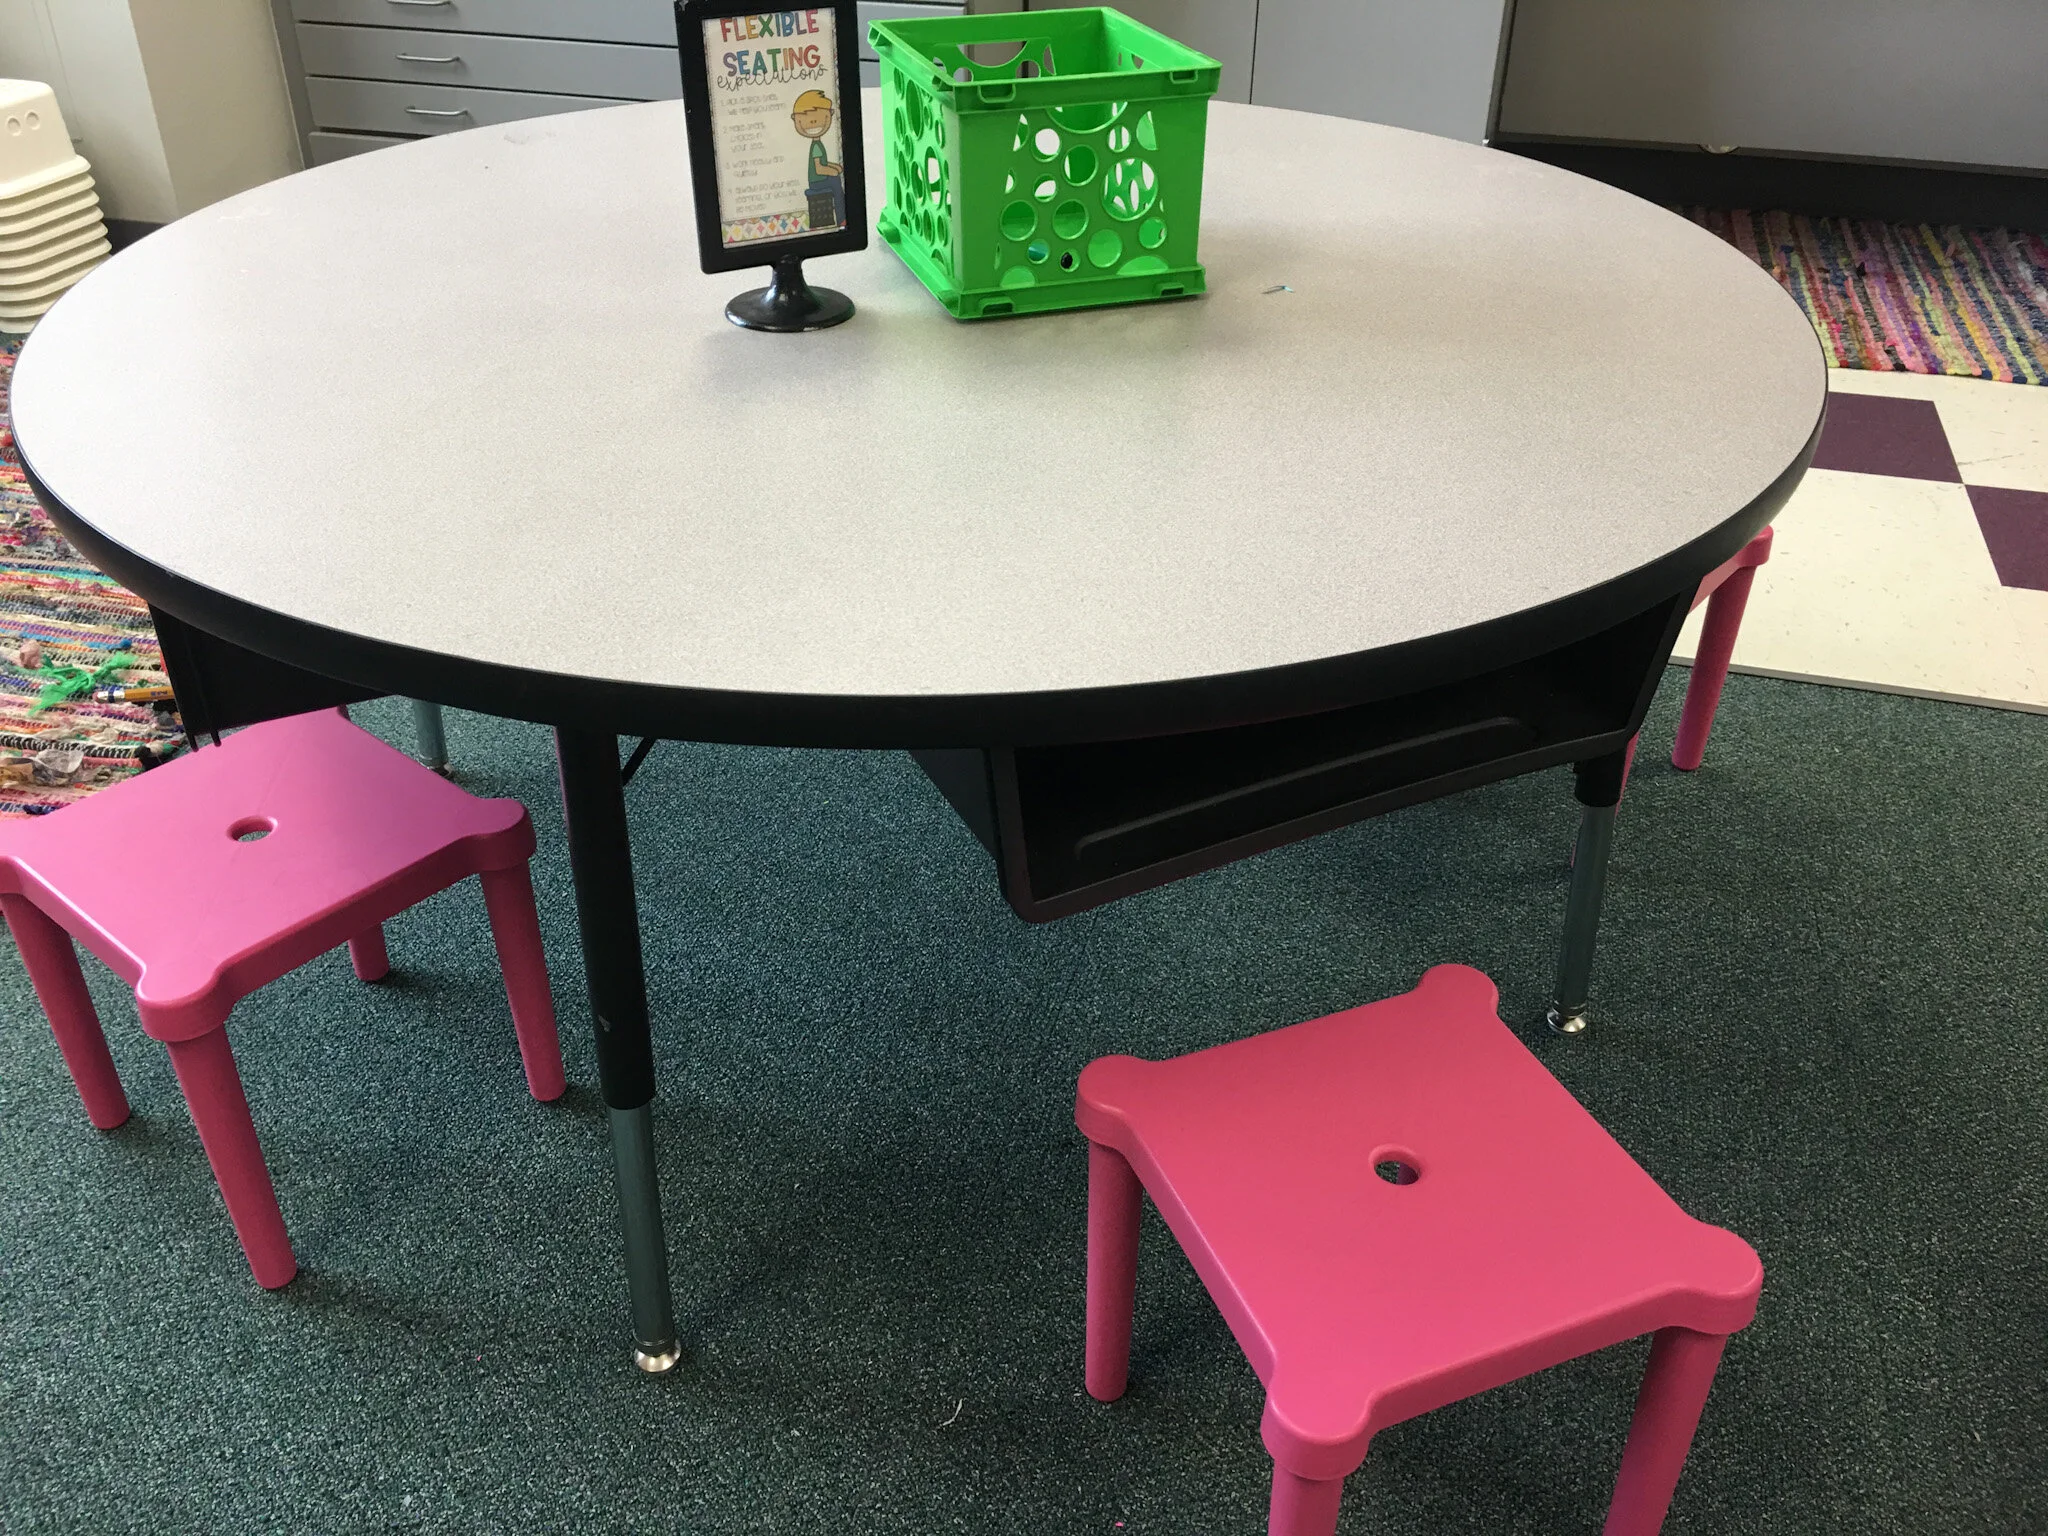
Each summer, I have added a few new pieces of furniture. Below, you will see the purchases that I made from Ikea:
5. Decorate Your Classroom
Most of the options in my first year of flexible seating involved students sitting on the floor.
Being a flexible seating classroom allows students to have more freedom and movement within the classroom.
I have found that my students are more engaged because there is more space in between them and other students.
Your students will find small nooks and crannies in your classroom that you never deemed possible for learning.
How to Start Flexible Seating on a Budget
1. Come Up with a Budget
Decide on a comfortable budget to start your flexible seating journey. Remember, it's okay to start small and gradually add to your classroom environment.
2. Plan your Classroom
Do some planning before you start purchasing! Draw a sketch of your classroom. Plan your ideal classroom arrangement.
3. Research the Best Places
Find the best locations to shop in your area. Don't forget to check your local garage sales for used furniture and other treasures.
4. Start Purchasing
Start visiting locations that will give you the most bang for your buck! Don't get too carried away, remember your budget!
5. Decorate your Classroom
Think about the best way to add the new purchases to your classroom environment. Don't be afraid to think outside the box!
Wrap Up
As you begin your flexible seating adventure, make sure to remember that it might not look very pretty when you first start out. You may have a transitional flexible seating classroom for a long time! Every classroom is different, and every year is different. Find what works best for you and your students.
You’ll Love These Related Posts


